Setup Guide
This document explains how to develop an app with the EPSON Moverio BT-45CS. Video See-Through is when both the camera background image and the virtual object are rendered, and Optical See-Through is when only the virtual object is rendered without rendering the camera background.
EPSON Moverio BT-45CS can use Image Tracker, Instant Tracker, Marker Tracker, Object Tracker, QR Code Tracker, QR/Bar Code Reader functions.
1. Set Up the Unity Development Environment
2. Install MAXST AR SDK for Unity
3. Run Sample App on Smart Glasses with Unity (Android)
4. Precautions
5. GitHub Unity Scene Example
1. Set Up Unity Development Environment
Requirements
We recommend Unity 2018 or later for the MAXST AR SDK for Unity.
To use MAXST AR SDK for Unity, you need basic knowledge of Unity development tools and Unity development.
For more information on Unity development tools, visit Unity Website.
The SDK supports the Smart Glasses devices [EPSON Moverio BT-45CS].
2. Install MAXST AR SDK for Unity
Open the Unity project or create a new one.
Import MAXST AR SDK for Unity by double-clicking the downloaded MAXST AR SDK Package or by selecting 'Assets / Import Package / Custom Package' from the Unity Editor menu and selecting the downloaded Package.
3. Run Sample App on Smart Glasses with Unity (Android)
To run the MAXST AR SDK sample app for Unity on Smart Glasses, follow these steps.
In Unity Editor, select 'File > Build Settings'
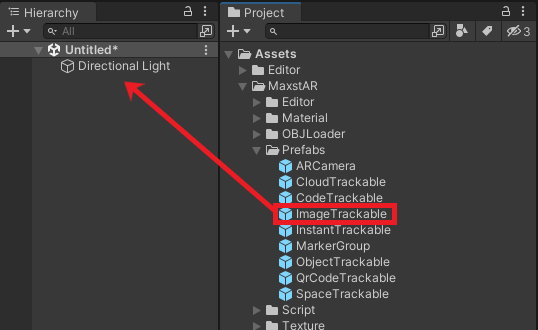
In Project View, add ImageTracker scene from the 'Assets > MaxsARSamples > Scenes' folder to 'Build Settings > Scenes In Build'
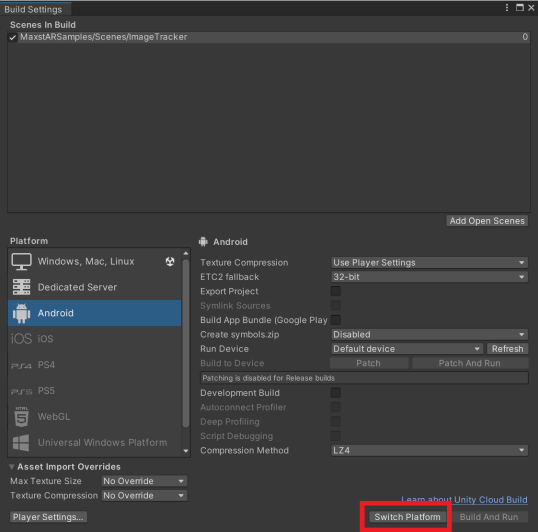
In Platform window, select Android and click the Switch Platform button.
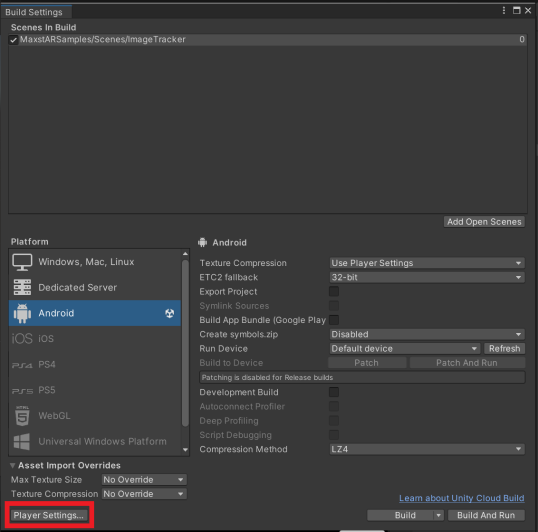
In Platform window, click the Player Settings button.
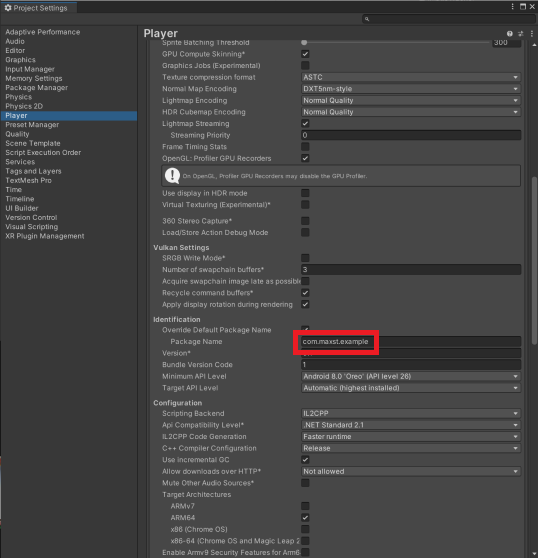
In Inspector window, enter the Identification.
Click the ARCamera Prefabs in ImageTracker scene and click the configuration menu in Inspector view.
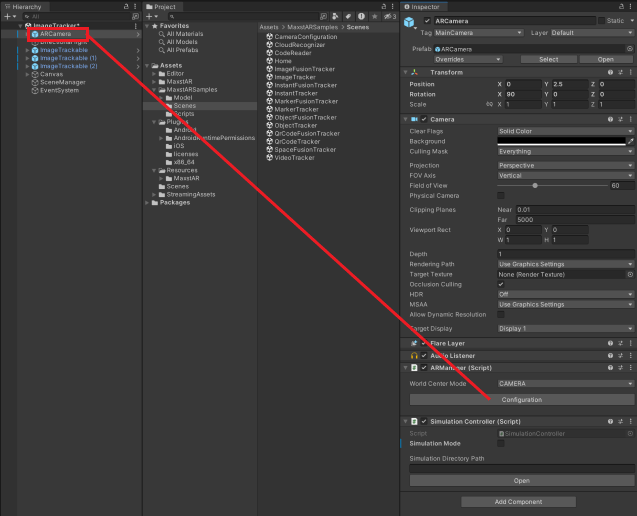
Select the Wearable Type to Optical See Through in configuration.
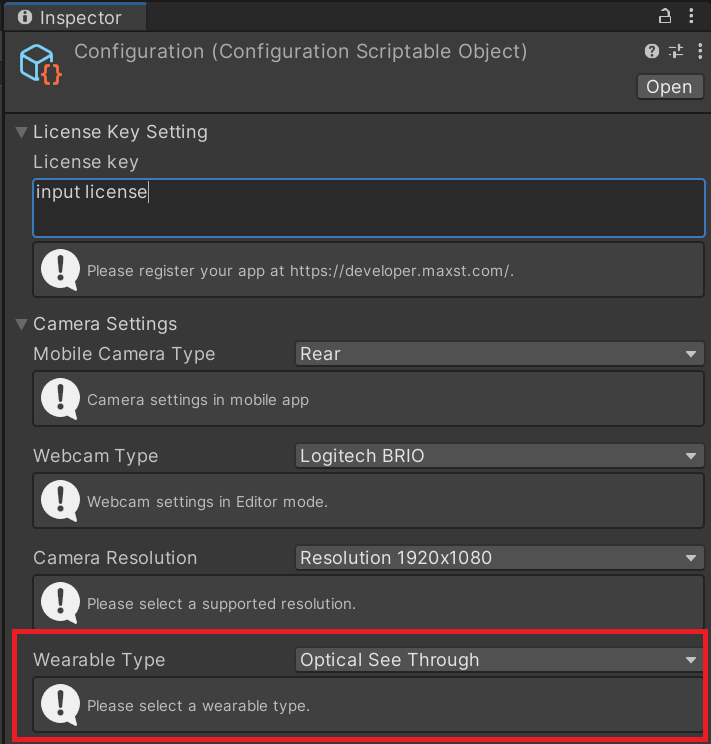 Select 'None' to develop the Video See-Through display app.

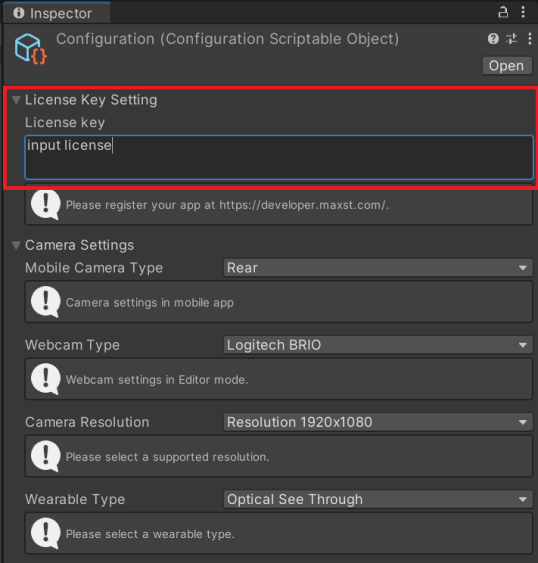
Enter the license key. Please refer to License Manager for how to get the license key.
After connecting the device, select 'File > Build&Run'
4. Precautions
※ If the Android SDK is not properly configured, the file selection window of the message(Select Android SDK root folder) may appear. You can do this by choosing Edit> Preferences from the Unity Editor menu bar.
5. GitHub Unity Scene Example
GitHub Unity Scene Example: https://github.com/maxstdev/MaxstARSDK_Unity_Sample.git
- ExtraImageTrackerKnight
- ExtraImageTrackerMultiTarget
- ExtraInstantTrackerBrush
- ExtraInstantTrackerGrid
- ExtraInstantTrackerMultiContents
- ExtraVisualSLAMBrush
- ExtraVisualSLAMKnight